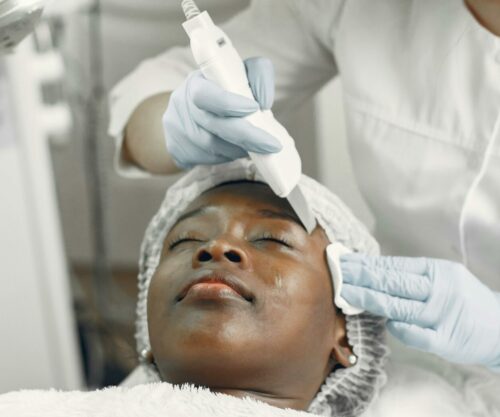
Spa treatments may have great results but they are not easy on the pocket which is why this quick and easy DIY facial is here. You can now also have beautiful and radiant skin from the comfort of your own home.
Image: Pexels
Here is our 7-step guide to a DIY facial:
1. Thoroughly cleanse your face, removing all traces of make-up and dirt. This allows other products to penetrate deeper. Rinse with warm water, apply your cleanser and wash in circular motions. Rinse again, and pat-dry with a soft facecloth.
SEE ALSO: 3 skincare gems to add to your beauty routine
2. The second step is to exfoliate. This helps to even out your skin, and refines your pores. If you have oily skin, use an exfoliator with charcoal as it helps to absorb excess oil.
3. Steaming is the most relaxing part as it opens up your pores. Boil water and pour into a big container. Drape a towel over your head and carefully lean your face over it so that your face is directly over the steam. Steam for about 10–15 minutes.
SEE ALSO: 3 ways to manage oily skin
4. With your pores open and the skin soft, you now extract the blackheads and whiteheads. They are usually found in the T-zone (nose, chin and forehead). If they don’t come out easily, stop extracting to avoid skin irritation.
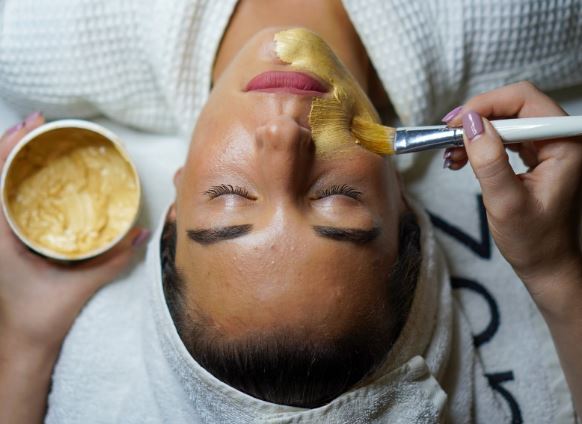
5. Now for the treatment mask. Choose one that is suitable for your skin type – a clay mask for oily skin and hydrating mask for a dry one. Sit back and relax for 20–30 minutes; you can even cover your eyes with cucumber slices to get that full spa feel.
6. Apply a serum to help calm and soothe your skin. A good one absorbs into your skin within a few seconds.
SEE ALSO: 3 miracle skincare products you need to know about
7. Hydrate with a good moisturiser. Facial oils are best for this step as they provide the extra nourishment. Don’t forget the eye cream for the dark circles or fine lines around that area.


