We’re just here to say – applying liquid liner should be considered an extreme sport! We have a love/hate relationship with liquid liner. Tricky as it is to pull off, you push through the stress of creating the perfect wing because you know a good liner can really elevate your look!
Yet there you are, wiping and reapplying several times over again as the perfect wing flies just out of your grasp. No matter what you do, from any angle and with extreme precision, the thickness of your liquid lines never match, and you end up looking like you’re about to land rather than take off…
Not to worry, we’re here to teach you how to fly! Here’s our guide on how to make the perfect wing with liquid liner. It it takes is a little practice!
Let’s look at different liners
Liquid liner commonly comes in two forms:
Felt Tip
Felt tip liners glide on smoothly and usually have a stronger pigment in colour when applied to the skin. These liners are great for beginners because they feel quite natural to apply, almost like you’re using a soft pen on your lids.
Brush Tip
Brush tip liners are more precise and allow you to achieve a thinner line, which gives more options for applying. However, these are a little tricky to use, especially for beginners, as the brush requires a steady hand for a straight line.
Apply liquid liner like a pro!
You’re just 6 steps away from winging it like a pro.
Step 1: At the starting line…
Before you apply any liner, make sure you’re applying from the right side! Never apply from the inner corner of your eye outwards, this is a recipe for disaster. It’s always best to start with the wing.
Step 2: Mark a dot
An outline or a starting point will help you a lot. Mark a small dot where you want the endpoint of your cat eye/wing to be. Contrary to popular belief, it’s best to keep your eyes open for this step.
Pro Tip: You can use tape as a guide.
Step 3: Wing it
Apply the liquid eyeliner from the outer corner of the eye, upwards to the point you where you will meet your dot (the tip of your wing).
Pro Tip: Use a dark brown shadow on the eye first. Using a thin-angled eyeliner brush, create your line with eye shadow until you obtain your perfect desired wing. Shadow is much easier to ‘erase’ than the liner, so you have room to correct yourself. Once you’re happy with the mock wing, go over with liquid liner.
Step 4: Draw your liner
Now that you have you’ve perfect your wing line, it’s time to connect this to your upper lash line. Start a bit lower than your wing’s ending to obtain a sharp look, and then draw another line downwards to the upper lash line.
Step 5: Complete the look
Now, working from the inner corner of the eye – complete your liner look and work your way to the end of your wing, using small strokes or one (steady) application.
Step 6: Let it dry
Don’t touch or work near your liner! The last thing you want to do is smudge all of your hard work, so make sure to look down to let your liner dry before you move on to the rest of your makeup. You can also set it with powder.
Pro Tip: Always work on your eyes first to avoid messing up the rest of your makeup application.
For an enhanced look, complete with mascara and a line on your bottom water line.
Pro tip: Rectify, perfect and neaten your liner with a sharp cotton bud dipped in micellar water or a clean angled eye brush, lightly dipped in micellar water.
Important things to remember
- There should be no gap between your liner and your lower lash line.
- Don’t droop your wing line too low.
- Don’t make your line too thick.
- Don’t make the wing too short.
- Ensure that your wing is sharp.
- Use the correct tools.
- Have a good grip on your liner. Hold the pen close to the tip.
The best tip we can give you is…practice and patience! Practice makes perfect and it will allow you to get to know your eye shape and how you like your liner done.
Shop liquid liners
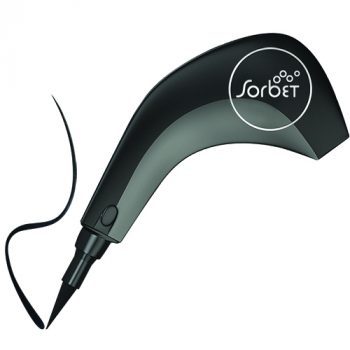
Sorbet – R199.95
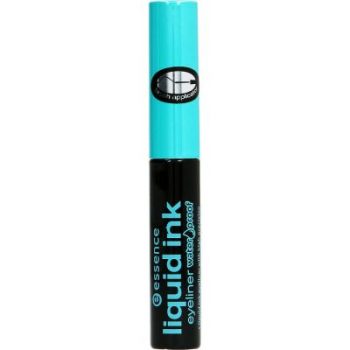
Essence – R64.95
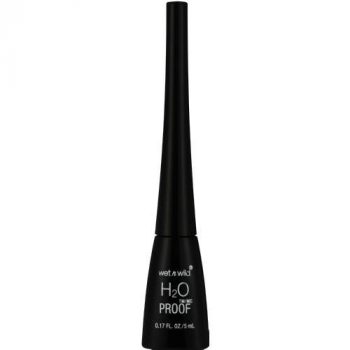
Wet&Wild – R182
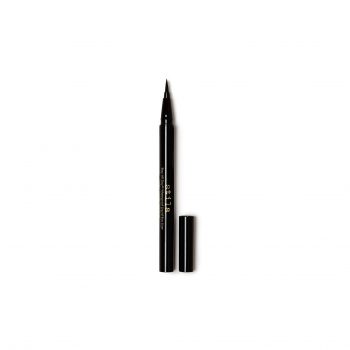
Stila – R215
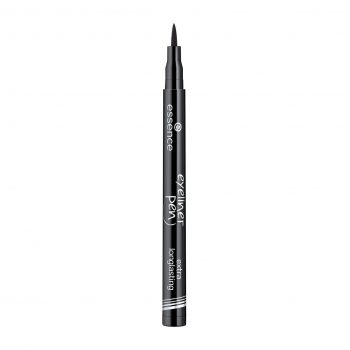
Essence – R69.95
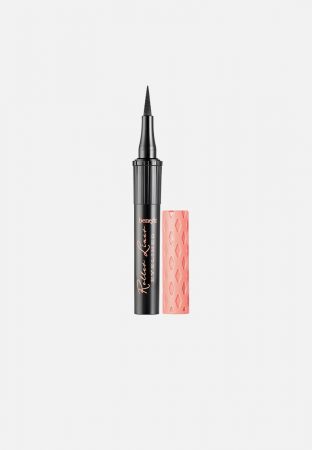
Benefit – R255
Compiled by Amy Steenkamp

