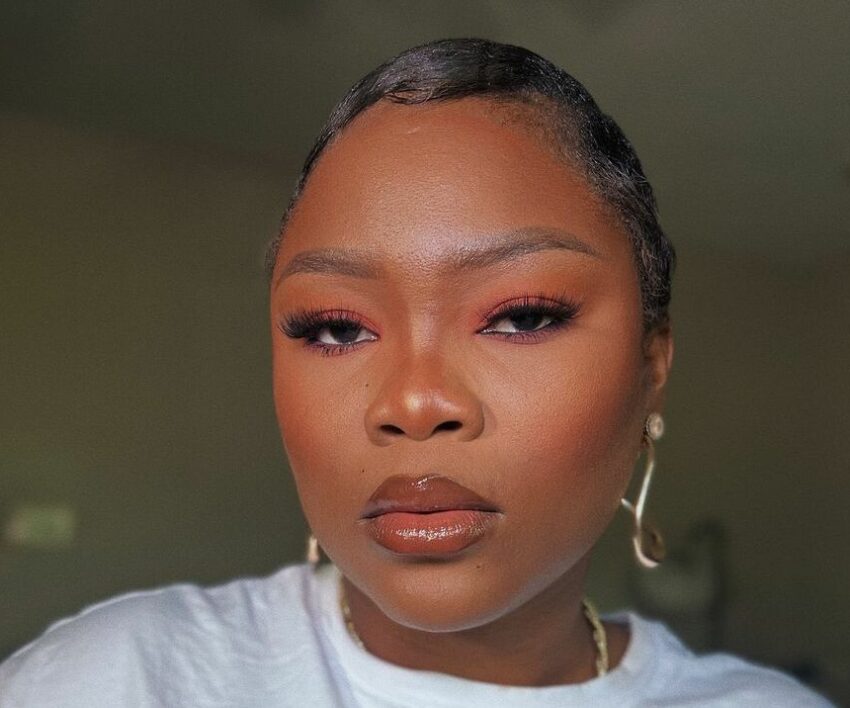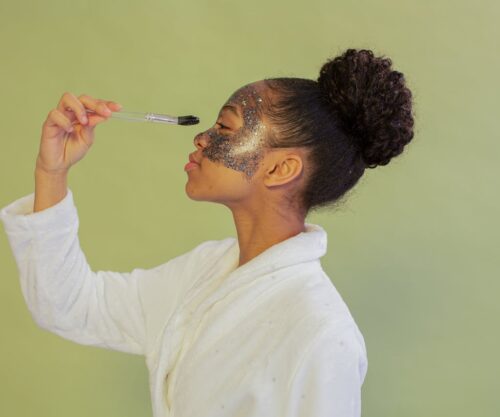
The beginner stages of makeup come with a lot of routines, terms and techniques. You find yourself in the space of being overwhelmed given the amount of things you need to know. Worry not though because in this 101 class, we are learning about underpainting.
What is underpainting and why is it important? Look at it this way underpainting would be the before version of your final makeup look so it’s just the sculptured version of how you will look once everything is blended.
Makeup artist Dayna Kellman says, “Makeup artists use this technique to create shape and dimension for catwalks, theatre performances, and much more! Some makeup artists from the past are now sharing all the tips and tricks from backstage.”
Dayna further explains that this method would make your makeup look more natural and defined, adding, “Underpainting is there to bring out features from your current facial structure – the results should be clean, flawless and your natural self enhanced.”
NYX Cosmetics states that the underpainting makeup technique involves applying foundation last, resulting in a more natural-looking finish, adding, how underpainting is faster than traditional foundation application which involves mixing all makeup in one step before applying foundation. This saves time helps prevent harsh lines and is great for those who prefer a softer, more natural base.
What you will need:
- Use makeup primer,
- Contour.
- Blush
- Concealer.
- Foundation.
- Setting spray.
- Makeup brushes or sponges.
Here’s a step-by-step guide from NYX Cosmetics:
1- Prep your skin: Use the moisturiser on clean, dry skin.
2- Contour and sculpt: Use the darker shade to draw lines along the temples, cheekbones, and jaw.
3- Apply Blush: Use a cream blush to impart pigment to the cheeks.
4- Apply colour-correct and conceal: Apply your skin tone for additional coverage.
5- Blend: Before applying foundation, blend out any underlying makeup. First, blend concealer, then apply contour or blush.
6- Layer on: Apply the product by dabbing it on to increase coverage in areas where you need it the most.
7- Set It: Set your finished look with a generous misting of your favourite setting spray.
@sinemnyani0 I’ve gotten so many requests for a voiceover for my underpainting tutorial, I know I’m talking really fast but I didn’t want it to be too drawn out. Enjoy!!✨ Products: @Maybelline NY luminous & smooth primer / powder foundation ‘128’ @milkmakeup hydro grip primer Black Opal stick foundation ‘walnut’ @Huda Beauty lipstick ‘famous’ / transluscent powder ‘banana bread’ @Rare Beauty liquid blush ‘believe’ @L’Oréal Paris infalliable concealer ‘honey’ / infalliable matte setting spray @rimmellondon multitasker concealer ‘sand’ @Too Faced born this way concealer ‘butterscotch’ @Fenty Beauty soft matte foundation ‘420’ / bronzer ‘coco naughty’ @NYX Professional Makeup blush ‘risky business’ @Charlotte Tilbury flawless filter setting spray @maccosmetics eye shadow pot ‘paradisco’ #CapCut#underpainting#makeuptutorial#fyp#sinemnyani ♬ original sound – Sine Mnyani
Also see: Struggling with dark marks? Try this tumeric skincare routine


