Bold, classic, nude or bright, chic nails are an essential accessory that complete any look. Here is a simple guide to getting your nails prim and proper and ready to complete your look with this 3 step manicure DIY you didn’t know you needed.
The 3 step manicure DIY you didn’t know you needed
Natural nude
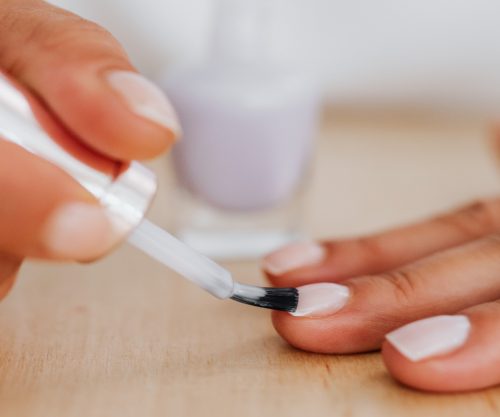
Step 1: Make sure your nails are clean and that you have removed all nail polish and have shaped your nails as you desire. Prepare your nails by applying a base coat which will create an even surface for the nail polish.
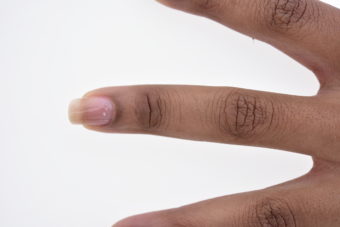
Step 2: Apply two coats of your preferred nail polish colour. After applying the first coat allow your nails to dry before adding the second coat. If you want the nail polish or if you have brittle nails you can apply a third layer.
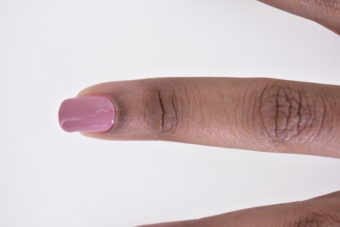
Step 3: Pick your favourite design on a nail art stencil. Peel it off and place it on your nail. Press down for a few seconds to make it hold, then follow it up with a top coat.
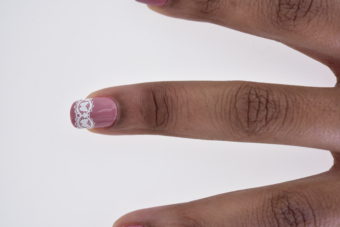
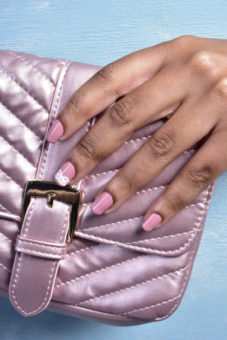
And there you have it, 3 steps to sleek nails!
SEE ALSO: Nail trends straight from the runway
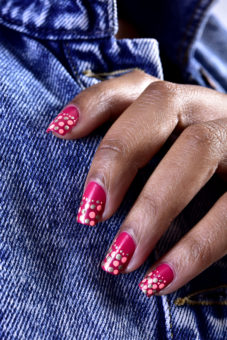
A pop of pink
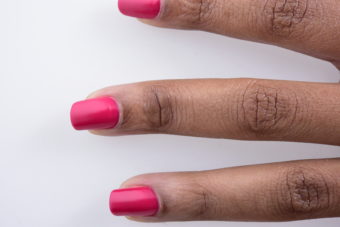
Step 1: Start by applying two coats of the pink nail polish. Allow to dry.
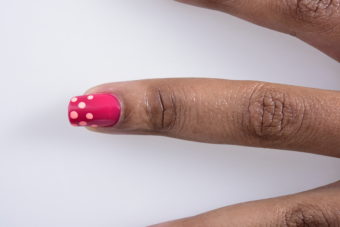
Step 2: Dip a nail art pen in coral polish, and create dots. Start by creating bigger dots at the tip of the nail, and finish off with small ones at the middle.
Step 3: Repeat step 2, but with the metallic nail polish. Seal it off with a top coat.
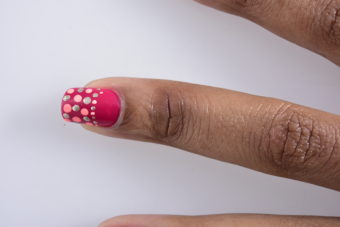 Tip: If you don’t have a nail art pen, use earbuds.
SEE ALSO: Get salon perfect nails yourself with a DIY manicure
Read more nails

